Transforming a Coastal Home: A Complete Roof Restoration & Gutter Replacement Case Study
Living on the Mornington Peninsula and in the Bayside suburbs offers a lifestyle that is hard to beat. We have the beaches, the breeze, and the beautiful views. However, that same beautiful environment can be absolutely brutal on our homes — specifically our roofs. At Frankston Peninsula Roofing, we don't just fix roofs; we protect your biggest asset against the unique elements of the Victorian coast. From the salt-laden air of Seaford to the heavy bay winds battering Mt Eliza, we understand exactly what your home is up against.
Recently, we undertook a massive project for a lovely couple, let's call them the Robinsons, located in the heart of Frankston South. Their home was a classic example of solid Australian construction that had simply succumbed to the ravages of time and weather. The concrete tiles were porous, the pointing had cracked, and the gutters were failing to divert water away from the foundation.
This project was a perfect candidate for a full Roof Restoration and a complete Gutter Replacement. In this detailed case study, I'm going to walk you through exactly how my team and I transformed their tired, leaking roof into a watertight, aesthetically stunning feature of the home. I will also dive deep into the technical "whys" and "hows" of the process, so you know exactly what to look for if you are considering a roof restoration in Frankston or the surrounding suburbs.
Part 1: The Inspection — Identifying the Hidden Dangers
Before a single ladder is pitched, everything starts with a comprehensive inspection. When the Robinsons called us, they mentioned they had seen some damp spots on their ceiling and noticed some "sandy" residue in their downpipes.
As the owner of Frankston Peninsula Roofing, I take these inspections personally. I went out to their property to conduct a full assessment. Here is what I found, and why it matters to you.
1. Porous Concrete Tiles
The home featured standard concrete tiles. When new, these tiles have a protective coating. Over 15 to 20 years, the sun and rain wear this coating down. The tiles on this Frankston home had become "porous."
- The Issue: When a tile becomes porous, it absorbs water like a sponge rather than shedding it. This adds immense weight to the roof structure during a storm (stressing the timber trusses) and allows moisture to seep through to the underlay.
- The Sign: The tiles looked dull, gritty, and had significant lichen growth.
2. Failing Bedding and Pointing
This is the most common cause of leaks I see in roof repairs across the Mornington Peninsula.
- Bedding: This is the cement mortar that holds the ridge caps (the V-shaped tiles at the peak) in place.
- Pointing: This is the flexible material that goes over the bedding to seal it. On this project, the old cement bedding had cracked due to natural ground movement and thermal expansion (hot days/cold nights). The old-school cement pointing had detached, leaving gaping holes where water could easily blow in during a southerly gale.
3. Guttering and Fascia Rot
The drainage system was in dire straits. The old galvanised gutters had rusted through — a common occurrence in seaside suburbs like Seaford and Mornington due to salt corrosion.
- The Consequence: Because the gutters were leaking, water was dripping behind the gutter and onto the "Fascia" (the timber board the gutter attaches to). I found significant wood rot on the front right corner of the house. If left unchecked, this rot would have spread to the structural eaves.
4. Lichen and Moss Infestation
The roof was covered in black algae and moss. While some think this is just cosmetic, moss is actually destructive. Its roots eat into the concrete tile, creating micro-fractures that widen over time during freeze-thaw cycles in winter.
Part 2: The Project Scope
After explaining the issues to the clients, we agreed on a comprehensive plan. This wasn't just a "patch-up job"; it was a restoration designed to last.
- Full Roof Restoration (Concrete Tiles).
- Complete Gutter and Downpipe Replacement.
- Timber Fascia Repairs.
- Application of a 4-Coat Paint System (including Primer).
We backed this project with our 10-Year Workmanship Warranty and our 100% Satisfaction Guarantee.
Part 3: Safety First — No Compromises
In the construction industry, specifically in roofing, safety is not a suggestion; it is the law. At Frankston Peninsula Roofing, we are fully licensed and insured, which protects our team, but crucially, it protects you as the homeowner from liability.
Before we lifted a tool, we installed a comprehensive Safety Rail System.
- What is it? A temporary metal guardrail installed around the perimeter of the roof.
- Why do we do it? It allows my team to walk freely and work efficiently on the roof without being tethered by harnesses for every small movement. This actually speeds up the job while ensuring absolute compliance with Victorian OHS laws.
⚠️ Safety Warning: Never hire a "handyman" or unlicensed operator for structural roofing work. Roofing is high-risk work. If an accident occurs on your property and the contractor is not properly licensed and insured, you as the homeowner could be held liable.
Part 4: The Restoration Process — Step by Step
Many homeowners ask me, "Mike, what actually happens during a restoration?" It is a multi-stage industrial process. Here is exactly how we tackled the Robinson project.
Step 1: Tile Replacement and Structural Repairs
You cannot paint over a problem. We started by manually inspecting every square inch of the roof.
- Sourcing Tiles: We sourced matching concrete tiles to replace all cracked and broken ones. In older suburbs like Mt Eliza, finding the exact profile match is critical to ensure the tiles lock together correctly to prevent leaks.
- Leak Repairs: We traced the source of the internal ceiling stains and rectified the waterproofing in those valleys.
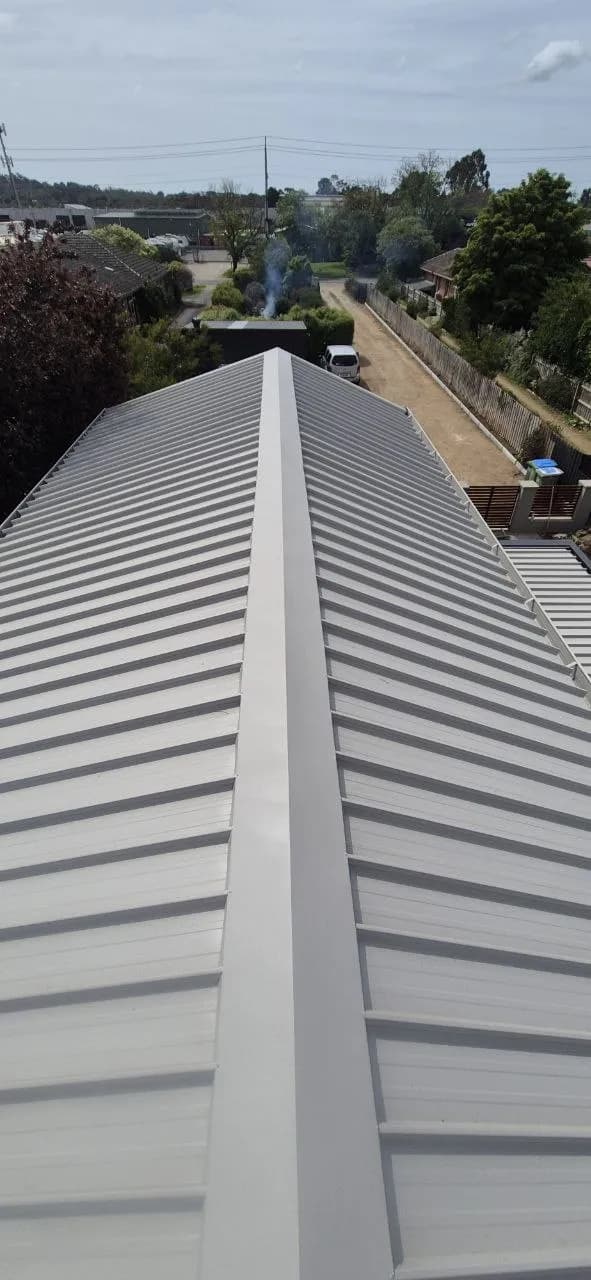
Step 2: Re-bedding and Repointing
This is the backbone of the restoration. We removed all the loose, crumbling cement mortar from the ridge caps.
- The Re-bedding: We laid a fresh track of bedding mortar to level out the ridge caps. This ensures the "spine" of the roof is straight and true.
- The Flexible Pointing: This is where modern technology comes in. We don't use cement for pointing anymore. We use a flexible pointing compound.
💡 Pro Tip: Houses in Victoria move. The soil shifts, and timber expands and contracts with the weather. Flexible pointing moves with the house rather than cracking against it. This mechanical bond is crucial for the longevity of the roof. Always ask your roofer whether they use flexible or cement pointing.
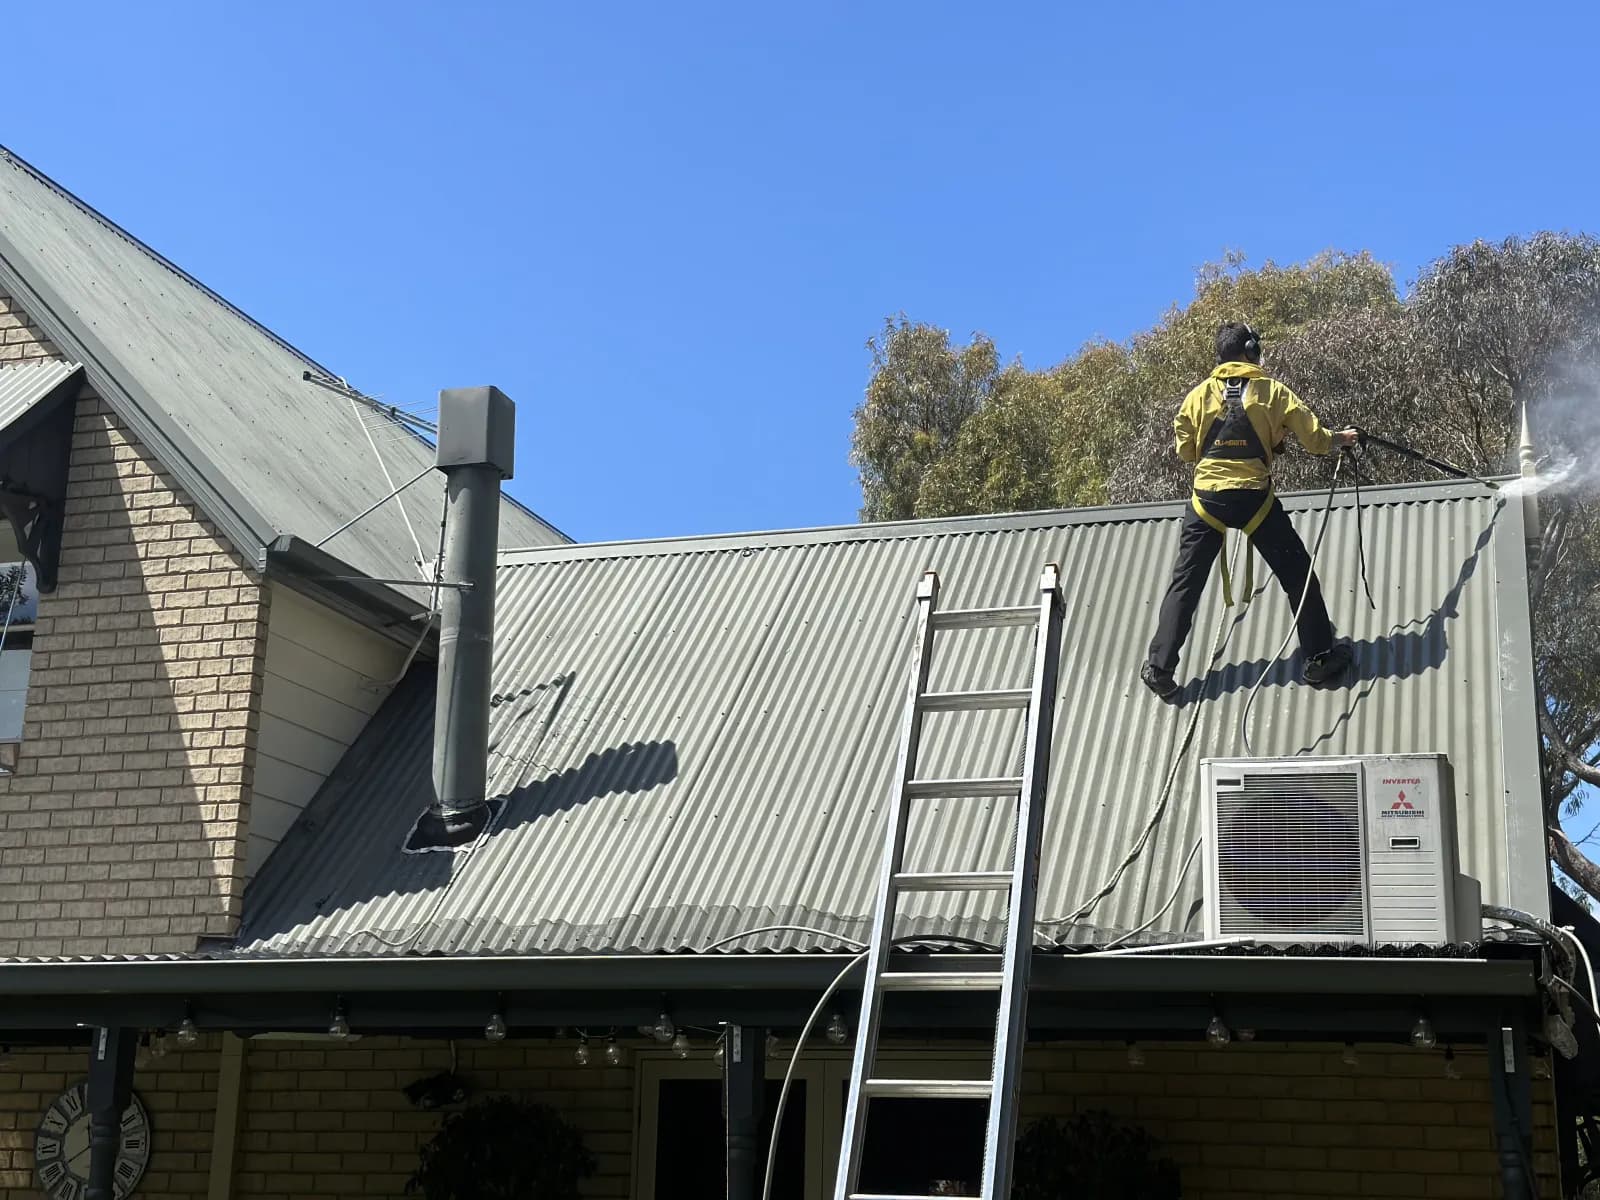
Step 3: High-Pressure Cleaning
Once the repairs were cured, it was time to clean. This isn't a job for a standard garden hose or a cheap hardware store pressure washer.
- The Equipment: We utilise industrial-grade pressure cleaners capable of outputting 3500+ PSI with rotary surface cleaners.
- The Goal: We need to strip the roof back to the raw concrete. This involves removing decades of dirt and grime, stubborn lichen and moss spores, and the oxidised chalky layer of the old tile surface.
- The Environment: We use pure water at high pressure — no harsh chemicals that could damage your garden or harm local wildlife. We also disconnect the downpipes during this process to ensure that the sludge and moss do not block your stormwater drains.
Step 4: The Chemical Phase — Sterilisation
After cleaning, invisible spores often remain deep in the concrete pores. Before painting, we apply a fungicidal wash. This kills any remaining organic growth, ensuring that moss doesn't simply grow back underneath the new paint.
Step 5: Priming (The Adhesion Layer)
This is the step many "cheap" roofers skip, and it is the reason their paint peels after two years.
- The Product: We applied a Nutech High-Build Primer/Sealer.
- The Function: Because the tiles were old and porous, they were thirsty. If we applied paint directly, the tile would suck the moisture out of the paint, causing it to flake. The primer soaks into the concrete, binds the loose particles, and creates a sticky, uniform surface for the topcoats to grab onto.
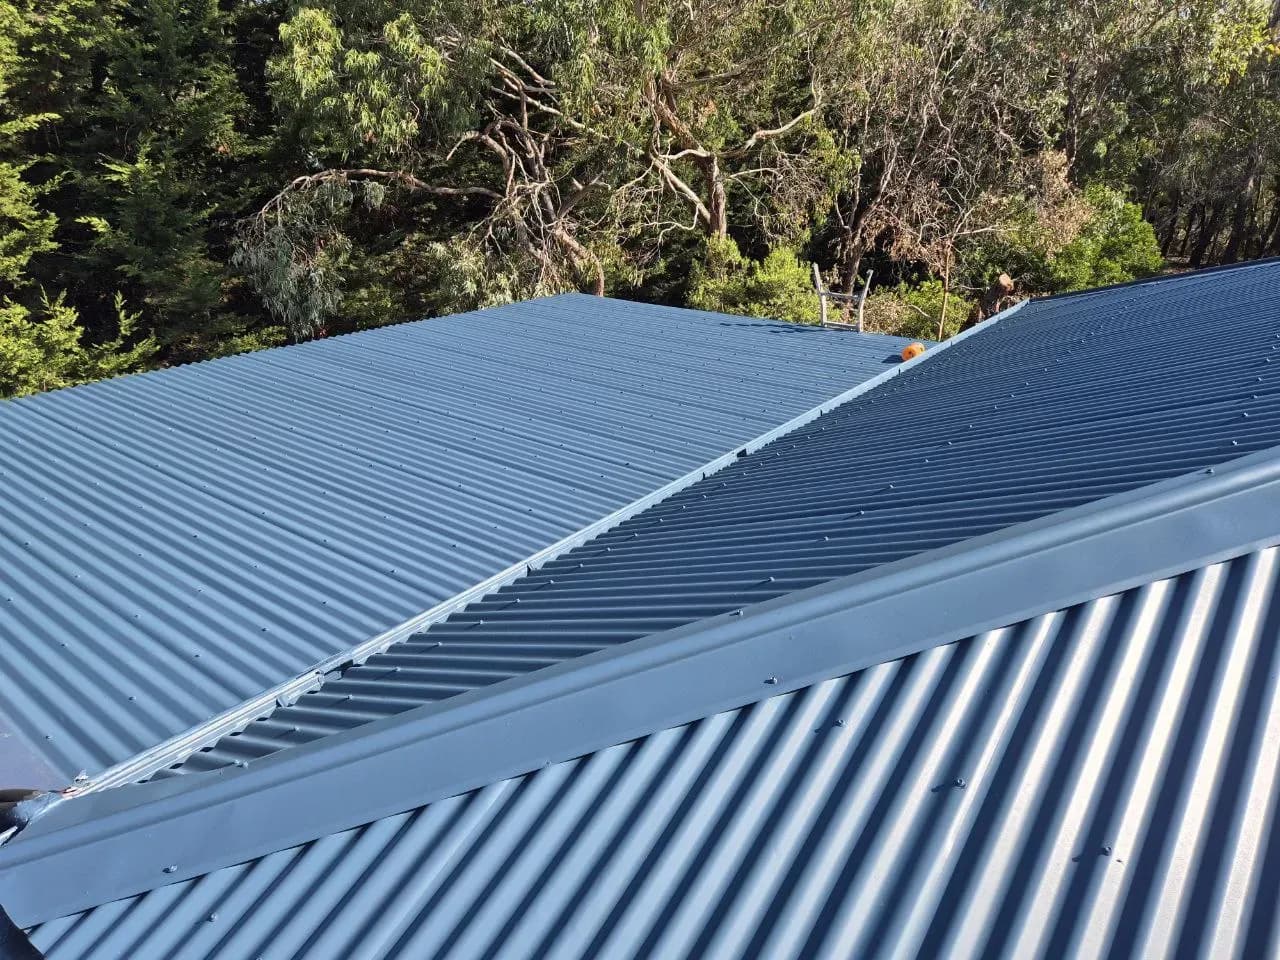
Step 6: Premium Roof Painting
Now for the transformation. For this project, the clients chose Nutech Tileflex, a premium membrane coating designed specifically for Australian conditions.
- Colour Choice: Shale Grey.
- Application: We applied two heavy coats of the topcoat.
- The Technology: This paint isn't just "colour." It is a membrane. It is thicker than standard paint, UV resistant, and contains self-cleaning nanotechnology that helps dirt wash away when it rains.
💡 Pro Tip: Shale Grey is a fantastic choice for the Mornington Peninsula. It is modern, clean, and coastal. Furthermore, lighter colours reflect more heat than dark colours (like Charcoal or Monument), which can help keep the internal temperature of the home cooler during scorching Victorian summers.
Part 5: Gutter Replacement — Improving Drainage
While the roof paint was drying between coats, our plumbing team tackled the guttering.
The Problem with Old Gutters
The existing quad gutters were rusted through. In Frankston and Seaford, salt air accelerates the oxidation of galvanised steel. Once rust starts, it acts like cancer for metal — it spreads rapidly.
The Fascia Repair
As suspected during the inspection, once we removed the old guttering, we exposed the rotten timber fascia on the front corner.
- The Fix: We didn't just patch it. We cut out the rotten section of timber, treated the surrounding area for spores, and installed a brand-new, primed timber fascia board. This provides a solid anchor point for the new gutters.
The New System
- Material: We supplied and installed Ace Wallaroo Quad Gutters. Ace Gutters are manufactured in Australia for Australian conditions. They use high-tensile steel that is far superior to cheap imports.
- Finish: The new gutters were colour-matched to the home's trim to provide a seamless look.
- Downpipes: We replaced the old, narrow downpipes with large 100x50mm downpipes.
💡 Pro Tip: In Melbourne, we are getting more frequent "rain bombs" — sudden, intense storms. Larger downpipes allow a higher volume of water to escape the roof quickly, preventing overflow back into the eaves. Always ask about downpipe sizing when getting a gutter replacement quote.
Part 6: The "After" — A Brand New Home
The transformation was night and day.
Before: The home looked tired, with a patchy, moss-covered roof and rusting gutters that leaked every time it rained. After: The home now boasts a gleaming Shale Grey roof that looks brand new. The lines of the ridge capping are straight and sharp. The new gutters frame the house perfectly, and most importantly, the water is flowing exactly where it should — away from the house.
We finished the job with a comprehensive site clean. We removed all the old rusty gutters, the broken tiles, and the moss sludge. We dismantled the safety rails and left the property spotless.
When we did the final walkthrough with the Robinsons, they were ecstatic. Not only had the street appeal of their home skyrocketed (adding real market value), but they also had the peace of mind knowing their home was watertight for the next decade.
Part 7: Why Choose Frankston Peninsula Roofing?
There are plenty of roofers in Melbourne, but finding a true local specialist who cares about the Mornington Peninsula community is different. Here is why Mike and the team stand out.
1. We Are Locals
We are based in Narre Warren and service the entire Bayside and Peninsula region daily. We know the difference between a roof in Toorak and a roof in Frankston. We understand salt corrosion, wind shear, and thermal shock.
2. The 10-Year Workmanship Warranty
We don't hide behind fine print. We offer a solid 10-Year Warranty on our workmanship. If our bedding cracks or our paint peels due to application error, we fix it. Period.
3. Fully Licensed and Insured
Never hire a "handyman" to do a structural roofing job. Roofing is high-risk work. We carry full Public Liability insurance and WorkCover. This means if an accident happens, you aren't liable.
4. Premium Materials Only
We use Nutech Paints, Ace Gutters, and flexible pointing compounds that meet Australian Standards. We do not cut costs by diluting paint or using cheap generic sealers.
5. Educational Approach
We believe in educating our clients. We want you to understand what we are doing and why, so you feel confident in your investment.
Part 8: Maintenance Tips for Bayside Homeowners
Congratulations, you've had your roof restored! How do you keep it looking this good for the next 10 years?
- Keep Gutters Clean: In suburbs like Mt Eliza where there are lots of gum trees, gutters clog fast. Blocked gutters cause water to back up and sit against the roof tiles, which can ruin the paint and cause leaks.
- Watch for Overhanging Branches: Trim back any tree branches that hang over the roof. Dropping branches can crack tiles, and the constant dripping of sap can stain the new paintwork.
- Annual Visual Check: You don't need to climb up there. Just stand across the street once a year and look at the ridge caps. Do they look straight? Are any tiles slipped? If you see something odd, call us.
Your roof is the first line of defence against the elements. Don't wait until water is dripping onto your dining table to act. Whether you are in Frankston, Mornington, Seaford, Narre Warren, or anywhere in the Bayside suburbs, Frankston Peninsula Roofing is here to help. We offer free, no-obligation roof assessments, honest and transparent pricing, and a team that treats your home like their own. Call Mike today on 0437 641 027 for your free quote. Let's bring durability, style, and superior protection back to your home.
Related Services
Serving Frankston, Mornington Peninsula & South-East Melbourne
We provide expert roofing services across these suburbs and surrounding areas. Click your suburb for local information and a free quote.
Frequently Asked Questions
How often should I have my roof restored?
Generally, a concrete tile roof will need a full restoration every 15 to 20 years. However, maintenance such as cleaning and minor pointing repairs should be checked every 5 to 7 years, especially in coastal areas like Frankston and the Mornington Peninsula where salt air accelerates wear.
Can you paint terracotta tiles?
We generally advise against painting terracotta. Terracotta is designed to breathe. Instead, we offer a specialised cleaning and moss-removal service for terracotta roofs that restores their natural clay colour without painting.
My roof is not leaking but it looks ugly. Should I restore it?
Yes. The dull, ugly look is usually due to the loss of the protective coating. Once that coating is gone, the tile absorbs water. Restoring it now prevents the leaks that will happen in the future. It is preventative maintenance that protects your home and adds real market value.
How long does a full roof restoration and gutter replacement take?
Depending on the weather (Melbourne is unpredictable!), a full restoration and gutter replacement typically takes 3 to 5 days. We work efficiently with safety rail systems rather than individual harnesses, which helps us maintain quality while keeping to schedule.
Do I need to move out while you work on the roof?
Absolutely not. We work externally. It can be a bit noisy during the pressure cleaning phase, but there is no disruption to your life inside the home. You can carry on as normal while we transform your roof.
Need Help With Your Roof?
Get a free, no-obligation inspection and quote. We'll give you honest advice — even if that means telling you it just needs minor repairs.